Tuesday 25 January 2011

Marmalade and Cake

Just as I was thinking that there was nothing interesting in season, I remembered oranges.  Oranges, synonymous with walnuts in Christmas stockings, bringing colour and cheer to the winter months.
Today I'm bringing two very different recipes for oranges.  The first is a gorgeous and surprisingly low fat cake.  I urge you to try this if you haven't already.  It works every time and it always tastes special.
Nigella's Clementine Cake (with Maya Gold)

4-5 clementines, skin on, to weigh 375g (13oz)
melted butter for greasing
6 large eggs
225g (8oz) sugar
250g (9oz) ground almonds
1 heaped teaspoon baking powder
100g Maya Gold Chocolate
Put the clementines in a pan, covered with cold water, then bring to the boil.  Simmer for 2-3 hours, then drain and set aside to cool.  Cut the clementines in quarters and discard the pips.  Pulp the rest (skins, pith, fruit) in a blender.
Beat eggs, add sugar, almonds and baking powder, mixing well.  Add clementine pulp then stir together.  Pour the mixture into the cake tin, then bake for approx 1 hour, covering with foil or greaseproof paper after 40 mins to prevent burning.
When done, take out of the oven and while still hot, dot squares of chocolate over the top.  These will melt, then use a spatula to spread the melted chocolate over the top of the cake.  Leave to cool.
As you can see from the photo above, the cake didn't even get a chance to cool before we had a couple of slices!  This is a moist, adult kind of cake, which adds a bit of sophistication to an afternoon tea or coffee.  It is lovely to make for house guests as it is a bit different and feels like you have gone to some effort, without taking too long such that you spend all day in the kitchen.
Seville Orange Marmalade

Every year Fanny's Farm Shop have a marmalade competition.  Every year I mean to give it a go, but this year, buoyed by the success of two years of home-made jam, I decided to take the plunge.
I bought a kit which included a recipe, all the jars, fruit and sugar.  However, as soon as I opened it up I realised I needed a muslin bag, so this took me a fortnight to sort out.  In the end I made do with a clean facecloth that had come with Liz Earle hot polish (which incidentally is really good).
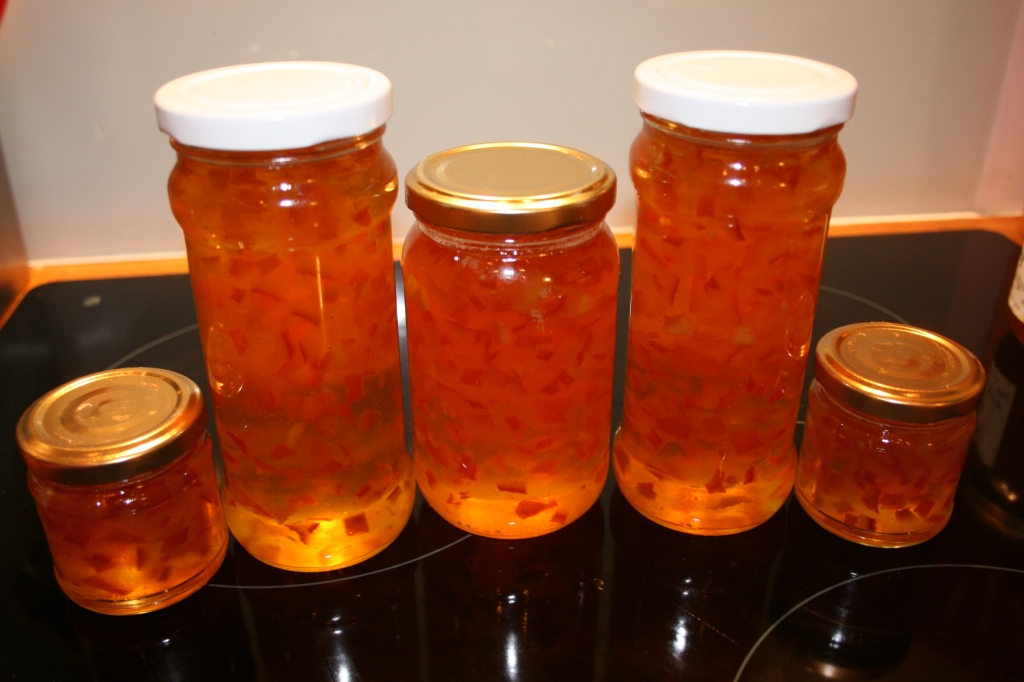
The recipe said 5 honey jars, but I filled a lot more.  To be on the safe side, I would have 7 or 8 normal sized jam jars available and sterilised in the dishwasher (just run them on a normal cycle with their lids, and leave them in the closed dishwasher till the minute you use them.
1kg/2.2lbs Seville Oranges
1 large lemon
2.5 litres or 4 1/4 pints of water
2kg of sugar
1.  With clean fruit, halve each one and squeeze out the juice and pips into a muslin sack over a bowl.  I used a sieve to hold the muslin bag aloft.   Remove some of the pith from the citrus peels and reserve, then cut the fruit into half again.  Slice the peel into narrow strips.
2.  Add the reserve pith into the muslin sack with the pips and tie loosely together.  Allow plenty of room in the bag so that the water can bubble through the bag and extract the pectin from the pips and pith.
3. Place the shredded peel, juices and muslin bag into a large preserving pan with the water.
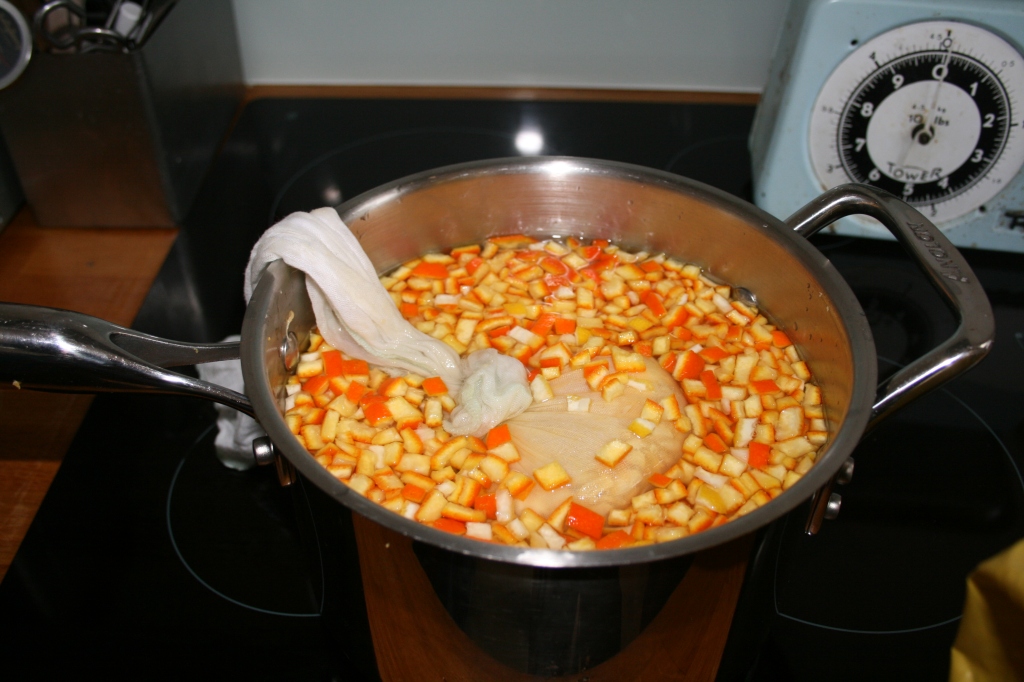
4.  Slowly bring the mixture to the boil, then simmer for 1 1/2 - 2 hours or until peel is very soft and the contents have reduced by half.  The photo below shows it half way to being done.
5.  Remove the muslin sack from the pan, set it aside to cool down.  Once cool, squeeze as much of the liquid back into the pan as possible.
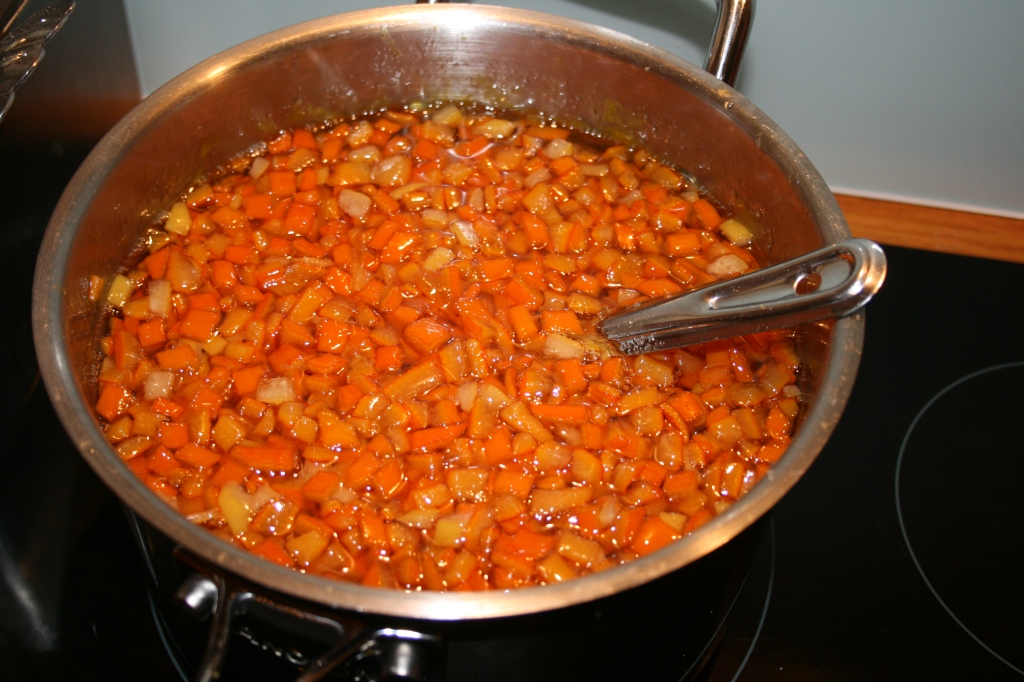
6.  Add the sugar to the pan over a low heat and gradually dissolve sugar.  Bring to boil, then boil for 10-15 mins.  It will set at 105C, 220F.
7.  Leave to stand for 15 mins, then give it a quick stir to distribute the peel evenly.
8.  Pop your jars out of the dishwasher, fill, seal and cover.
The end result with this recipe was floating pieces of peel in clear gold coloured jelly.  I was very impressed with the colour and taste of the batch, and will be saving the spares for serious marmalade lovers only!
Fanny's Farm Shop are having a marmalade competition in February, details of which can be found on their website.

Friday 21 January 2011

Indoor Bulbs - trade secrets

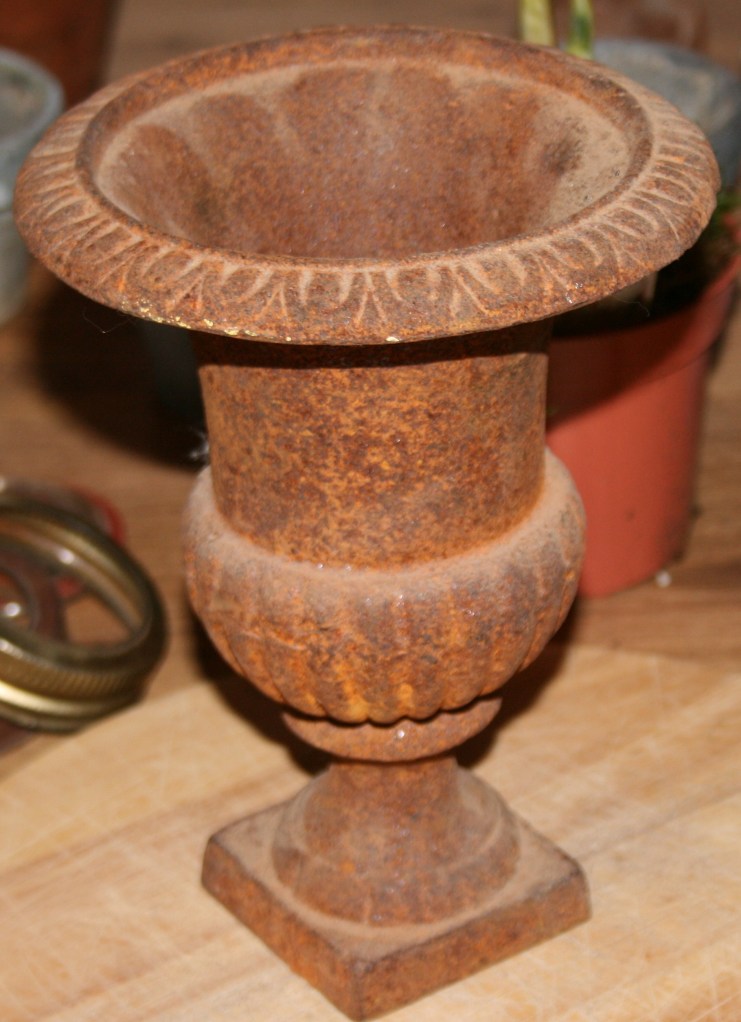
At Petersham Nurseries last weekend, the kind lady behind the counter gave me an intro to potting up bulbs for indoors.  I feel as if I have peeped behind a curtain and discovered something really useful, so I wanted to share it on the blog.  It's impossible to tell whether anyone else in the world will find it quite as revelatory as me, but here goes. First, Exhibit A - I bought a pair of gorgeous urns (below), intending to plant them up and put them on either side of the mantelpiece.


The only problem was that after about 5 years, I had never really managed to do anything useful with them.  I resorted to stuffing them with some dried flowers in dried oasis.  It looked okay, but missing any real va va voom.

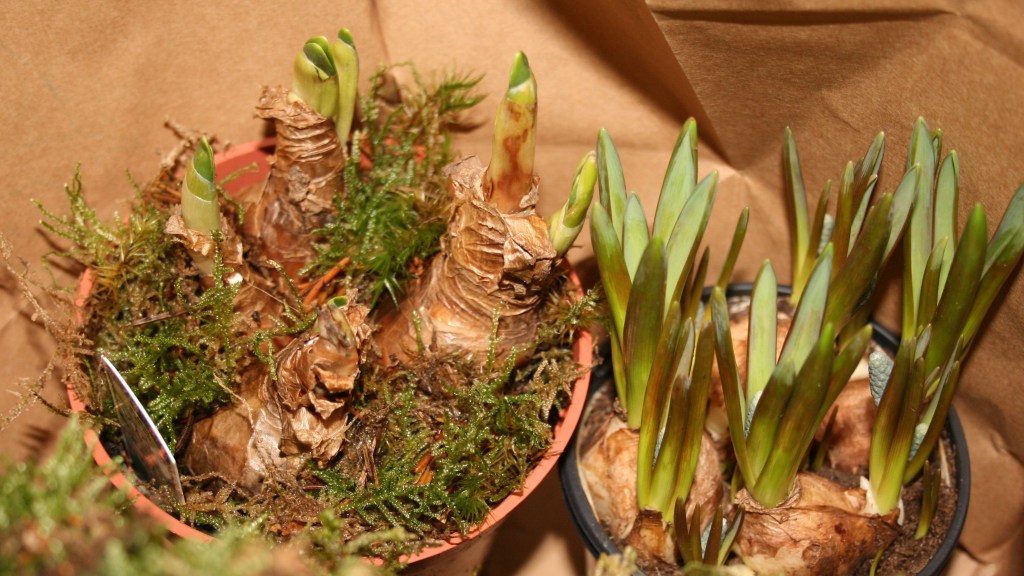
So, at Petersham Nurseries, seeing their gorgeous bulbs potted up, I asked for some advice.  They told me that the bulbs can go in with very little soil, and that they sell layers of the spaghnum moss to finish it off.


With this basic concept in mind, I bought some bulbs, a combination of ones already potted up and dry ones for sale in packets.


The packeted ones were very cheap as technically they are past their time, and have started to sprout.


The next step was foraging around the garden to find any potential pots.  Luckily, as well as the urns, I had some zinc pots waiting for inspiration.


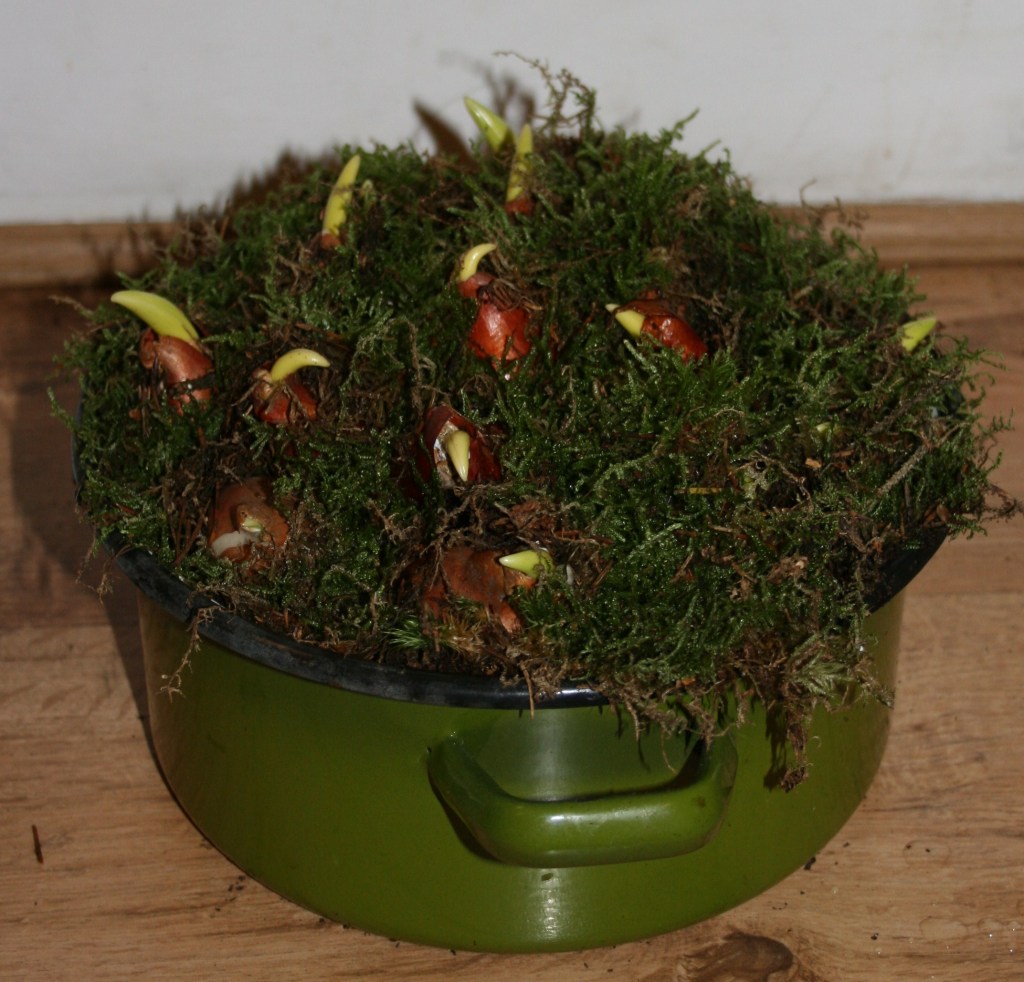
I potted up the bulbs with compost, packed in tightly together, with a moss carpet on top.  This makes so much difference, it turned something quite ordinary into something much more interesting.


You buy it in layers, then break it apart to let the shoot through (no lewd comments on the photo please!)


I can't think how much this might have cost to buy them already planted up (or even to make if the bulbs weren't in the sale!) , but it wasn't a huge dent in the wallet.


Finally:


Of course, all this enthusiasm will be pointless if they don't flower properly.  As with all plants, I will have to patiently wait and see.

I watered them, put them in the brightest, coldest part of the house, and will keep the blog updated if they work.

Sunday 9 January 2011

New Year's Resolutions


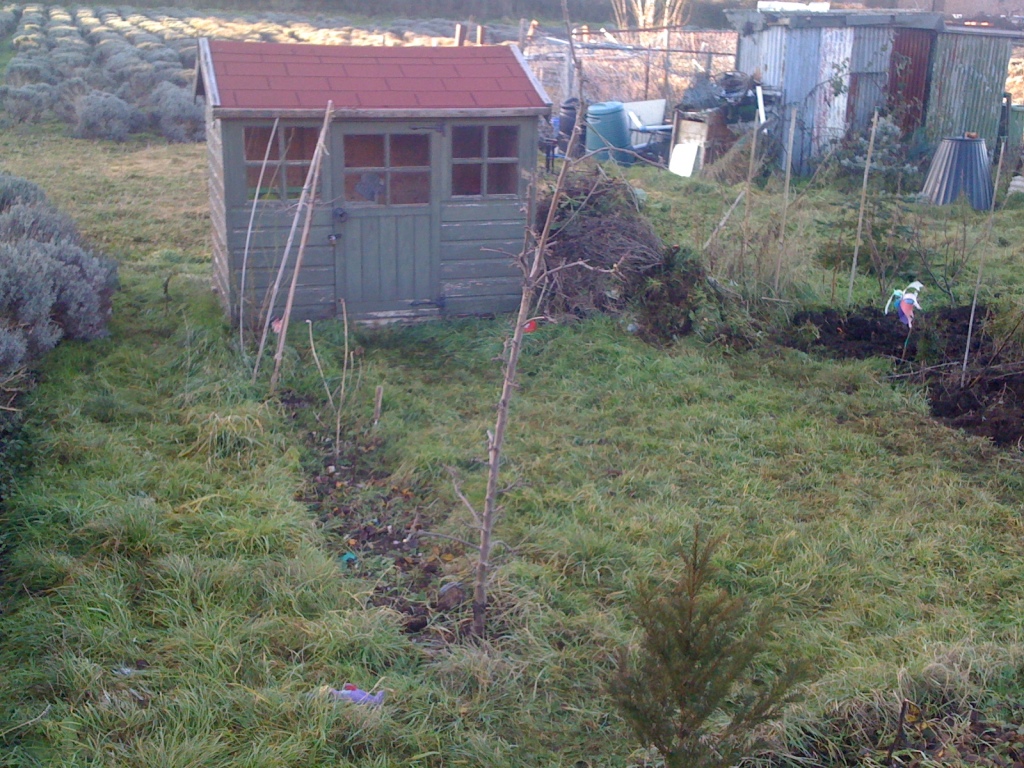
After all the snow, illness and Christmas in December, it's no surprise to be starting January with a renewed vigour and energy.  This has been helped by the brighter, less frozen weather.  We went to the Stanley Road plot today, and what a wonderful sight.

Firstly and unusually for us, the shed was still in the same place on our plot, instead of half-way across the site crushing someone else's plot.

Secondly the site looked lovely bathed in cool winter sunlight, showing to best effect how much effort has been put in on the part of many plot holders.

Finally, we managed to get loads of digging done before the whingeing started.  Maybe the novelty effect was at work, or it could have been the picnic lunch that kept the girls going for longer?


Tonight it'll be time to get out the crop rotation plans from previous years, and work out the plan for this year.

Current thoughts are that we will dig out even more of the couch grass paths.  The stuff is relentless, and never stops spreading either by invasive roots, overhead suckers or seed.  Once dug, the size of the beds shrinks every couple of months under constant pressure from the sides.


It's also decision time for the strawberry patch.  It was such a disappointment last year, the crops were so puny and it now takes up almost half of the main growing area.  One option would be to dig them all up and go for something else.

Alternatively we could dig them up completely, pick the very best looking plants, manure the bed, cover it with weed membrane, replant the best along with some new vigorous ones and hope for a better year.  Not sure which one we will do at present.  Tempting to give it up as a bad job.

Other ideas are to use the beds for a Sarah Raven type "Cutting Garden",  or to give annual crops another go.  One lesson I have learned is that I need a proper dedicated annual bed, with no perennials or shrubs which just make weeding too difficult.  Time to get those seed catalogues!

Decisions, decisions.