Wednesday, 31 August 2011

Kew Botanical Gardens - rediscovering an old friend

When we first moved to London, we became members of Kew gardens.  This was perfect for us, being obsessed with gardens and indoor plants.  We got free entry plus guest tickets that we could use to take visitors and house guests.  After visiting many times, we got restless and ten years ago we moved on to join the RHS.  Wisley replaced Kew as our regular haunt for days out.  Then after years of Wisley, we moved on again and joined the National Trust.  This allowed us to go to some superb country gardens round the country like Sissinghurst and Scotney Castle in Kent, and Cotehele and Anthony in Cornwall.
Now we've decided the rotation has come back to Kew.  Wow, what a decision.  In the ten years I had forgotten just how much I love Kew gardens, and how much I've missed it.  It's like meeting up with a much loved old friend and being delighted to find that you still have so much in common.
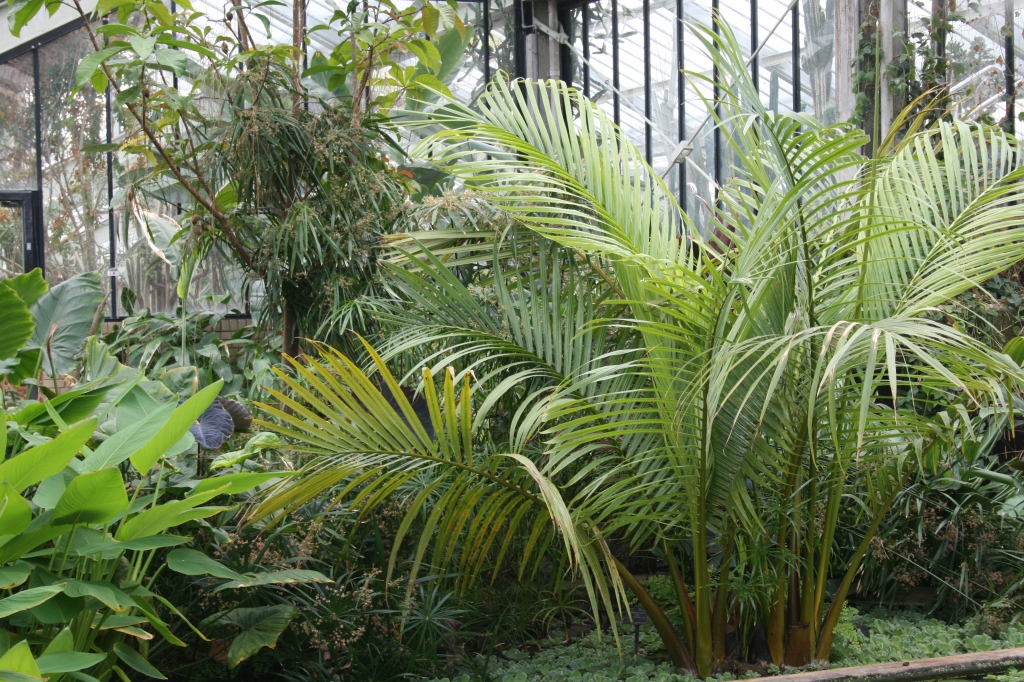
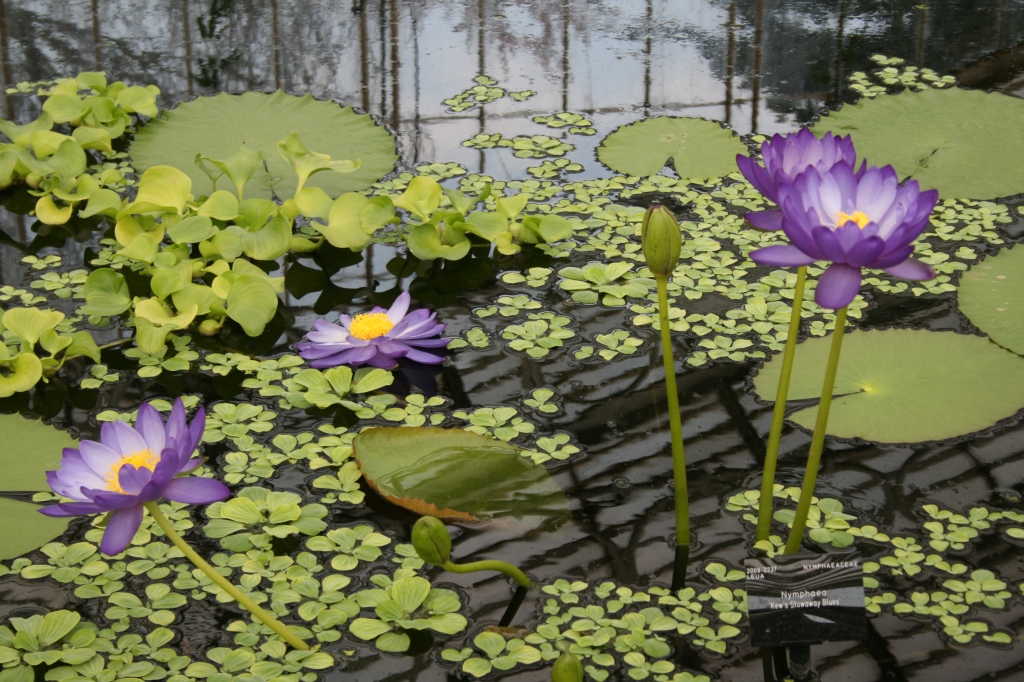
For a start, the sheer diversity of habitats and growing conditions means that they can fully represent the planet's flora.  It's just mind-blowing that one minute you are in a tropical rainforest and then when you go through a door you're in an amazing desert.
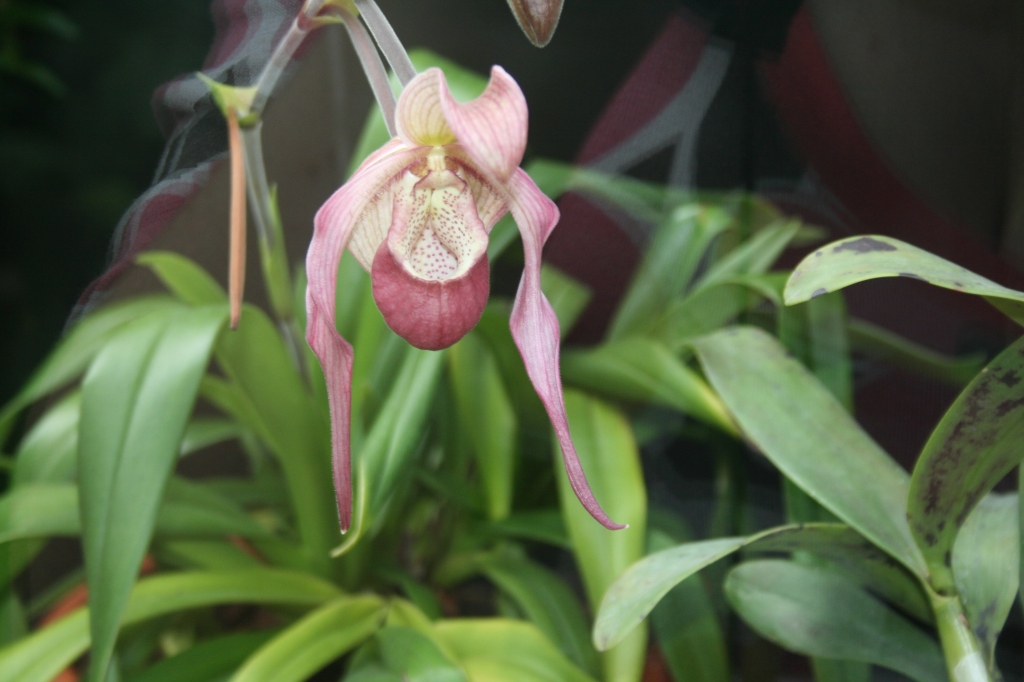
We literally travelled the planet in a day.  The most varied glasshouse in terms of plants is the modern styled Princess of Wales Greenhouse, which to my mind contain most of the interesting specimens. There is a huge range of both temperate and tropical plants, including some of the biggest and oldest cacti in cultivation, carnivorous plants, and a large collection of orchids.
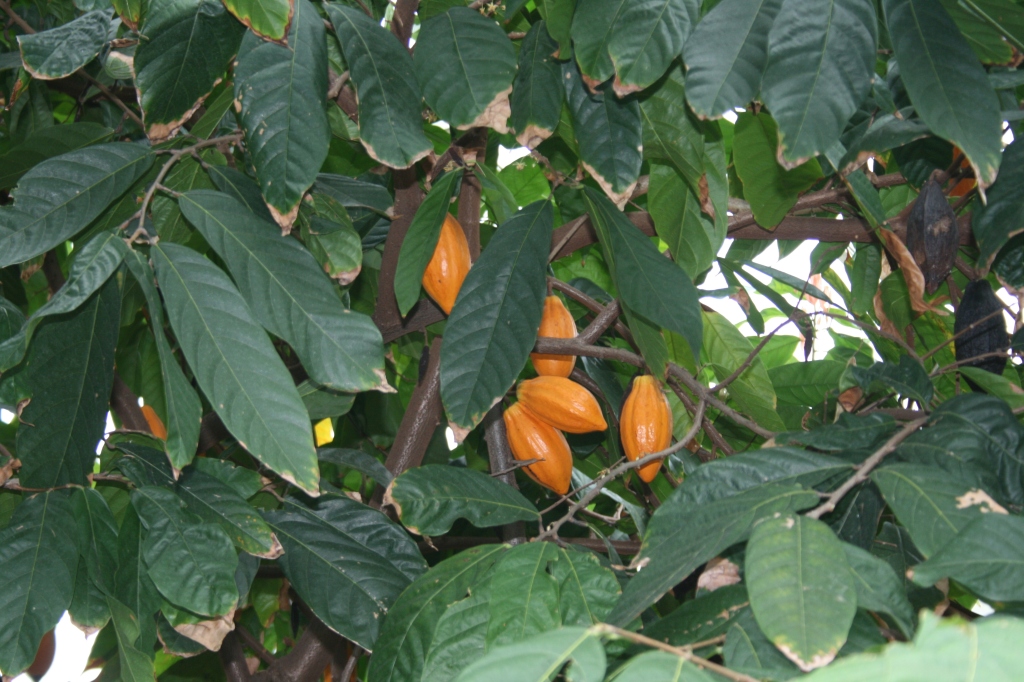
I think Kew preceded the Eden project by displaying "plants for people", and they have such plants alongside information about how they are used by humans.  I particularly enjoyed seeing the chocolate plant for obvious reasons.
The large range of environments and plants makes this my favourite glasshouse.
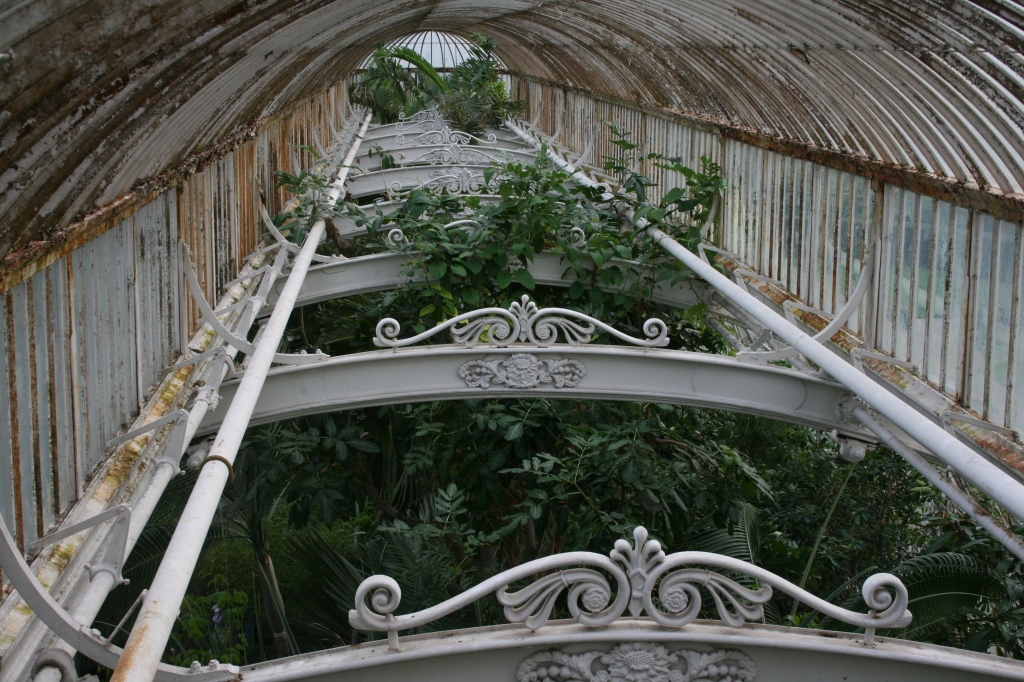
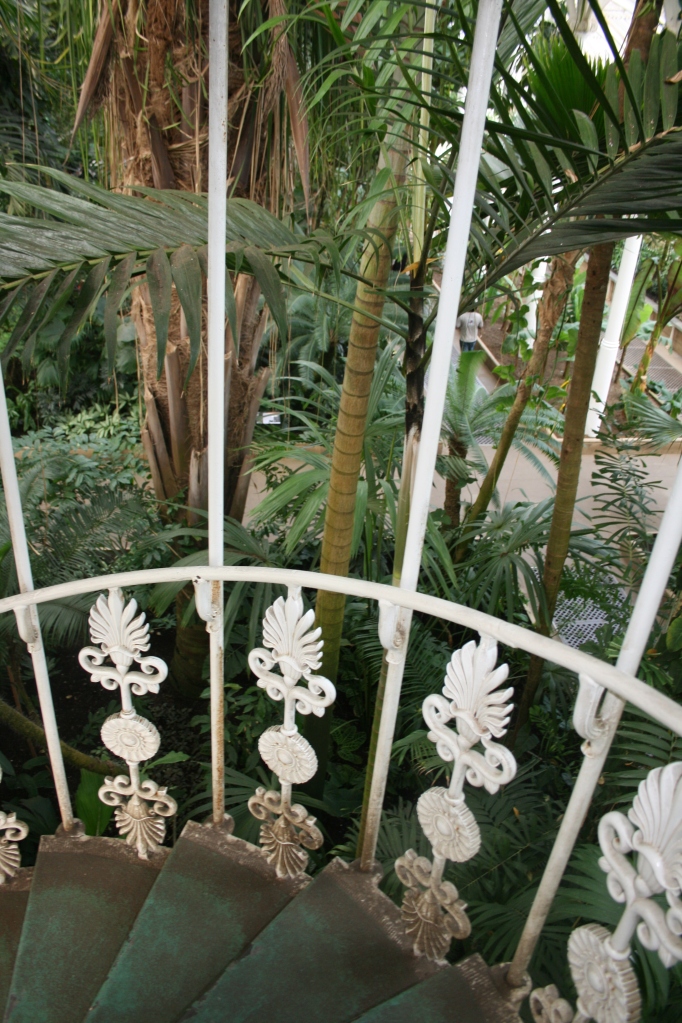
However, for sheer beauty of construction, you can't beat the Victorian glasshouses.  They house impressive specimens from all the continents of the world.  You can also go upstairs and view the plants from the "rooftop".
There are some wonderful plants to look down on:
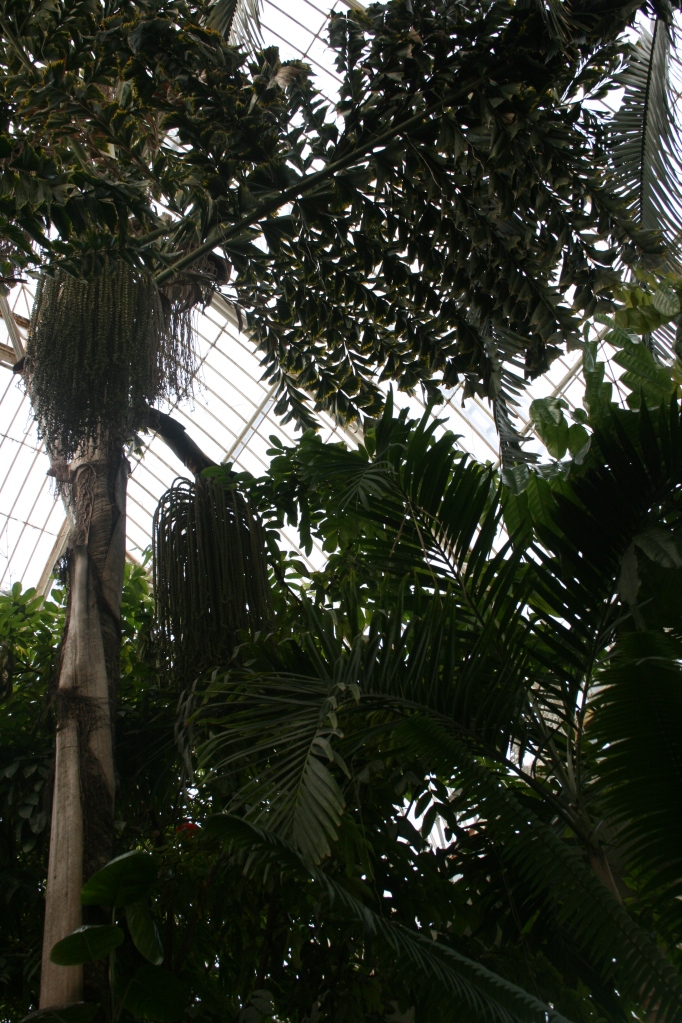
Some of the plants look more impressive from below:
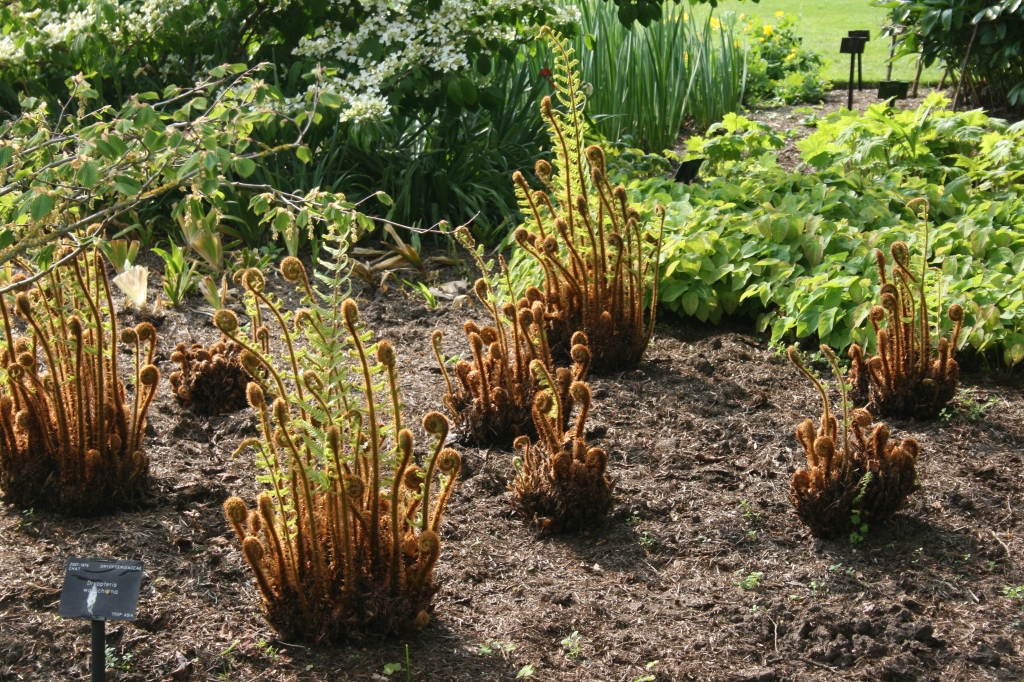
Some of the outdoor plants are just as exciting as the indoor ones.  I was particularly thrilled to get the following pictures of ferns unfolding:
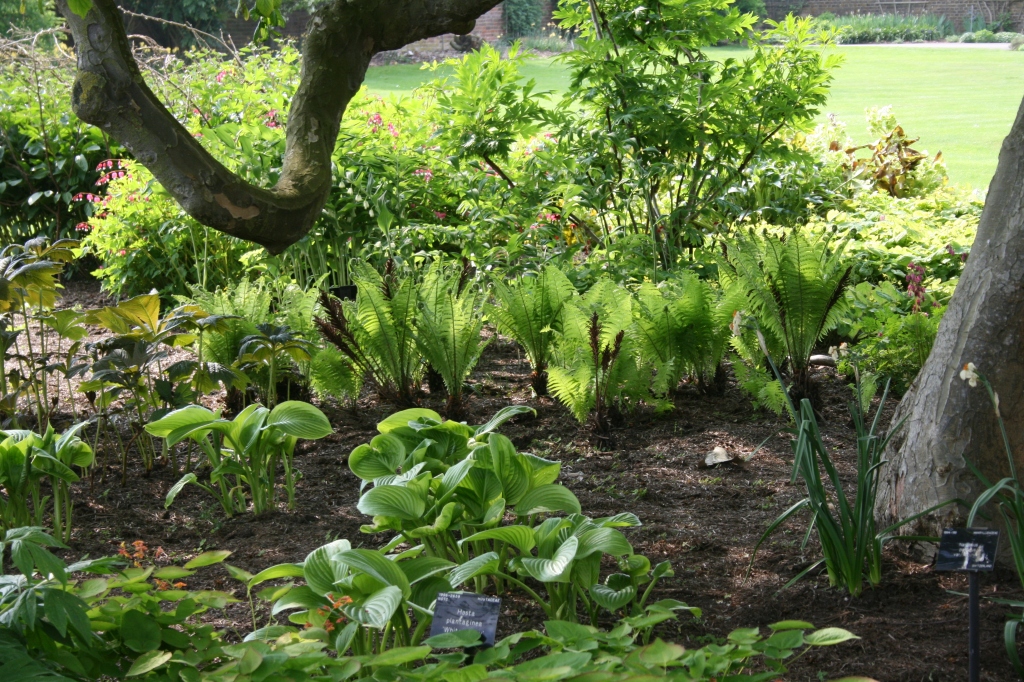
There's a traditional walled garden, which for me is enhanced because every single plant is marked, so you can take note if you want to get one for your own garden.
All in all a plantswoman's paradise.

Saturday, 14 May 2011

A very welcome visitor from next door

My next door neighbour has the most amazing rose in her garden, and by some miracle of luck, it has grown over to our side. 
I think it started last year when we notice it had climbed up a tree on our side.  This year it kind of collapsed onto our side, and the spur grew so much that I swear we are getting more benefit than they are. 

What do I do?  It seems an absolute travesty to cut it off, but I have a sneaking guilty feeling that we should be offering it back?


There is a saying that you should offer back anything that you take off the plant, so I guess that means if we pick any.
The whole thing makes me feel somewhat like a character out of the fairy tale Rapunzel.

Friday, 13 May 2011

Bluebells

A quick post in admiration of Bluebells.

Apparently the British Isles have over 40% of the world's bluebell population.
These ones were snapped at Kew Gardens  a few weeks ago.

The best things come to those who wait

I have a theory that the longer you wait for something, the sweeter it is when you get it.  In our modern consumerist society, we don't wait as long as we might for most things, and I am particularly guilty of frittering away money on instant gratification in the form of seeds, plants, pots etc.
However, one thing you can't buy easily in London is space, and we have waited a long time to have a garden with a patch of sunny space for a greenhouse.  When you add this time to the time we lived in flats with no private garden, we have waited fifteen years for that patch of space.
Fifteen years of indoor plants crammed into corners.  Fifteen years of Jamie running out into the garden late at night to put straw and bubble wrap on tender plants in the first frosts.  Fifteen years of seedlings covering every windowsill and of citrus plants dying of too little light in the heat or too much water in the cold.
But after all that time, wow, what a beauty.  It was well worth the wait.  I can hardly contain my excitement.
After waiting fifteen years, we decided to make it worthwhile, and while others may drive nice cars or take foreign holidays, our extravagances have usually gone into plants and the garden.  So we invested our life savings in a gorgeous red cedar greenhouse.  We are very, very lucky people.
It was ready for plants in mid December, and is now home to some prize new plants that wouldn't have thrived even through the mild 90s winters.  Exhibit A:  A new peach tree whose blossom is spectacular at this time of year.
There are also a multitude of seedlings, which are healthier than anything we have seen on the windowsill over the years.  They just do so well in there.  Some of them have started to be planted out.  Coriander and Lemon coriander:
Globe artichokes:
Finally the peas that were put in a month ago are ready to go it alone outside:
It's amazing how life can change so much in a year.

Tuesday, 25 January 2011

Marmalade and Cake

Just as I was thinking that there was nothing interesting in season, I remembered oranges.  Oranges, synonymous with walnuts in Christmas stockings, bringing colour and cheer to the winter months.
Today I'm bringing two very different recipes for oranges.  The first is a gorgeous and surprisingly low fat cake.  I urge you to try this if you haven't already.  It works every time and it always tastes special.
Nigella's Clementine Cake (with Maya Gold)

4-5 clementines, skin on, to weigh 375g (13oz)
melted butter for greasing
6 large eggs
225g (8oz) sugar
250g (9oz) ground almonds
1 heaped teaspoon baking powder
100g Maya Gold Chocolate
Put the clementines in a pan, covered with cold water, then bring to the boil.  Simmer for 2-3 hours, then drain and set aside to cool.  Cut the clementines in quarters and discard the pips.  Pulp the rest (skins, pith, fruit) in a blender.
Beat eggs, add sugar, almonds and baking powder, mixing well.  Add clementine pulp then stir together.  Pour the mixture into the cake tin, then bake for approx 1 hour, covering with foil or greaseproof paper after 40 mins to prevent burning.
When done, take out of the oven and while still hot, dot squares of chocolate over the top.  These will melt, then use a spatula to spread the melted chocolate over the top of the cake.  Leave to cool.
As you can see from the photo above, the cake didn't even get a chance to cool before we had a couple of slices!  This is a moist, adult kind of cake, which adds a bit of sophistication to an afternoon tea or coffee.  It is lovely to make for house guests as it is a bit different and feels like you have gone to some effort, without taking too long such that you spend all day in the kitchen.
Seville Orange Marmalade

Every year Fanny's Farm Shop have a marmalade competition.  Every year I mean to give it a go, but this year, buoyed by the success of two years of home-made jam, I decided to take the plunge.
I bought a kit which included a recipe, all the jars, fruit and sugar.  However, as soon as I opened it up I realised I needed a muslin bag, so this took me a fortnight to sort out.  In the end I made do with a clean facecloth that had come with Liz Earle hot polish (which incidentally is really good).
The recipe said 5 honey jars, but I filled a lot more.  To be on the safe side, I would have 7 or 8 normal sized jam jars available and sterilised in the dishwasher (just run them on a normal cycle with their lids, and leave them in the closed dishwasher till the minute you use them.
1kg/2.2lbs Seville Oranges
1 large lemon
2.5 litres or 4 1/4 pints of water
2kg of sugar
1.  With clean fruit, halve each one and squeeze out the juice and pips into a muslin sack over a bowl.  I used a sieve to hold the muslin bag aloft.   Remove some of the pith from the citrus peels and reserve, then cut the fruit into half again.  Slice the peel into narrow strips.
2.  Add the reserve pith into the muslin sack with the pips and tie loosely together.  Allow plenty of room in the bag so that the water can bubble through the bag and extract the pectin from the pips and pith.
3. Place the shredded peel, juices and muslin bag into a large preserving pan with the water.
4.  Slowly bring the mixture to the boil, then simmer for 1 1/2 - 2 hours or until peel is very soft and the contents have reduced by half.  The photo below shows it half way to being done.
5.  Remove the muslin sack from the pan, set it aside to cool down.  Once cool, squeeze as much of the liquid back into the pan as possible.
6.  Add the sugar to the pan over a low heat and gradually dissolve sugar.  Bring to boil, then boil for 10-15 mins.  It will set at 105C, 220F.
7.  Leave to stand for 15 mins, then give it a quick stir to distribute the peel evenly.
8.  Pop your jars out of the dishwasher, fill, seal and cover.
The end result with this recipe was floating pieces of peel in clear gold coloured jelly.  I was very impressed with the colour and taste of the batch, and will be saving the spares for serious marmalade lovers only!
Fanny's Farm Shop are having a marmalade competition in February, details of which can be found on their website.
Friday, 21 January 2011

Indoor Bulbs - trade secrets

At Petersham Nurseries last weekend, the kind lady behind the counter gave me an intro to potting up bulbs for indoors.  I feel as if I have peeped behind a curtain and discovered something really useful, so I wanted to share it on the blog.  It's impossible to tell whether anyone else in the world will find it quite as revelatory as me, but here goes. First, Exhibit A - I bought a pair of gorgeous urns (below), intending to plant them up and put them on either side of the mantelpiece.


The only problem was that after about 5 years, I had never really managed to do anything useful with them.  I resorted to stuffing them with some dried flowers in dried oasis.  It looked okay, but missing any real va va voom.

So, at Petersham Nurseries, seeing their gorgeous bulbs potted up, I asked for some advice.  They told me that the bulbs can go in with very little soil, and that they sell layers of the spaghnum moss to finish it off.


With this basic concept in mind, I bought some bulbs, a combination of ones already potted up and dry ones for sale in packets.


The packeted ones were very cheap as technically they are past their time, and have started to sprout.


The next step was foraging around the garden to find any potential pots.  Luckily, as well as the urns, I had some zinc pots waiting for inspiration.


I potted up the bulbs with compost, packed in tightly together, with a moss carpet on top.  This makes so much difference, it turned something quite ordinary into something much more interesting.


You buy it in layers, then break it apart to let the shoot through (no lewd comments on the photo please!)


I can't think how much this might have cost to buy them already planted up (or even to make if the bulbs weren't in the sale!) , but it wasn't a huge dent in the wallet.


Finally:


Of course, all this enthusiasm will be pointless if they don't flower properly.  As with all plants, I will have to patiently wait and see.

I watered them, put them in the brightest, coldest part of the house, and will keep the blog updated if they work.